
One of the time-saving solutions for several QB Desktop issues is to reinstall it using the QuickBooks Clean Install Tool. It is a specialized utility provided by Intuit to assist you in performing a clean and thorough reinstallation of QuickBooks Desktop. This tool is handy when you encounter persistent issues with the QuickBooks application, such as errors or glitches that are difficult to resolve through regular troubleshooting methods.
The entire clean installation process goes like uninstallation of the QuickBooks Desktop for Windows, renaming the installation folders, and re-installing using the QB clean install utility. Don’t worry, it might sound a bit complex to you, but it is a relatively simple process. Go through this blog to get a detailed view of the clean install process.
Are you confused about how QuickBooks Clean Install Tool can be of use to you? Talk to the experts at Data Service Solution for a detailed overview. Dial toll-free number +1-(855)-955-1942 now.
Why We Need QuickBooks Clean Install Utility?
No doubt, it’s necessary to run the QuickBooks Clean Install tool to Uninstall and Reinstall the QuickBooks desktop application. Below we have mentioned some of the instances, where the need to use QuickBooks Clean Install Tool Exe becomes a must-do part.
- When you end up with an error while trying to open more than one company file, you may use this utility.
- When QuickBooks starts to display installation errors.
- A simple QuickBooks reinstall didn’t help you fix common error codes.
Precautions For Clean Install QuickBooks Desktop using Clean Install Tool
There are a few cautionary steps that you have to perform before you begin to Clean and install QuickBooks Desktop to avoid any file or data loss. Below we have covered all such factors:
- Make sure to download the latest version of the QuickBooks desktop application.
- Note down your product year and version.
- Make sure to create a backup of your company file to avoid any data loss.
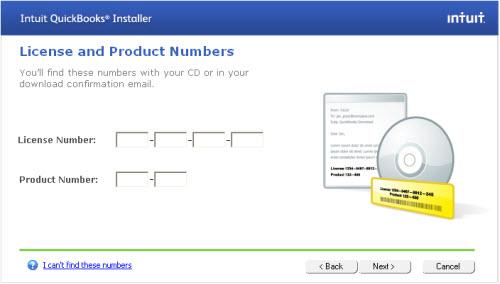
- Right after uninstallation and reinstallation of the QuickBooks desktop application, you’ll be asked to enter the License and Product Number. Thus, you must keep it handy. You can find it either in the original packaging or in the purchase confirmation email.
What are the Errors That Can Be Resolved Using Clean Install Utility?
The errors related to the installation and corrupted folder issues can easily be resolved using this utility. A list of some of the errors that you can resolve using the Clean Install Tool is given below:
- QuickBooks Keeps Crashing issue
- Unrecoverable Error 19982 36466
- QuickBooks Error 1904
- QuickBooks Desktop won’t open Error
- Printing Issues in QuickBooks Desktop
How To Use The QuickBooks Clean Install Tool for QB Desktop?
Clean Installation of QB Desktop using QuickBooks Clean install tool repairs various company files and software damage issues. The process of clean install using QB clean install utility includes 3 main steps:-
- Uninstall the QuickBooks Desktop
- Rename the installation folders
- Reinstall QuickBooks to your Desktop
Step 1: Uninstall QuickBooks Desktop
To start with the clean install process of the QuickBooks application, you need to uninstall/remove the already existing QB version from your Windows system. follow the below-mentioned steps for uninstalling QBD without losing any data in the process.
- Look for the Control Panel on your PC and Open it.
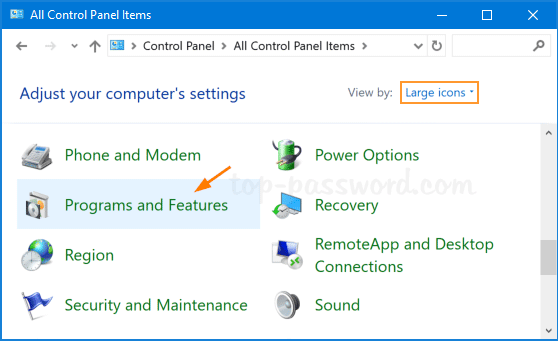
- From there, select Programs and Features or Uninstall a Program option.
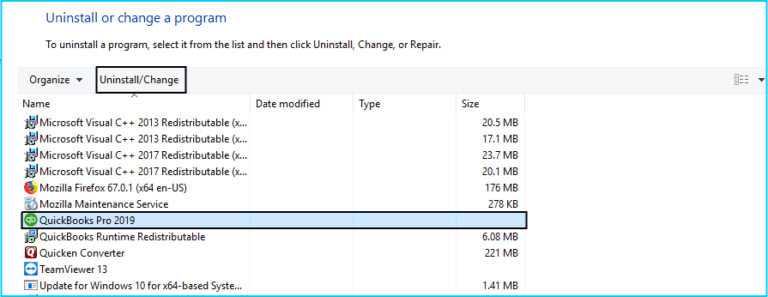
- Now from the list of programs, select the QuickBooks Desktop version that you’re having issues with.
- Now uninstall the QB desktop by clicking on the Change/Uninstall option on the top of the list.(Make sure you have the admin rights to perform this action.)
Stop the troubleshooting process, if you come across any issue while uninstalling QuickBooks. It might be due to some issue with your workstation. Thus, you must look for the assistance of an IT professional or Contact our QuickBooks Helpline team.
Step 2: Run the Clean Install Tool
The old install folders are named by the Clean Install Tool on their own. This feature allows QuickBooks to add new install files whenever required if you reinstall the QB application.
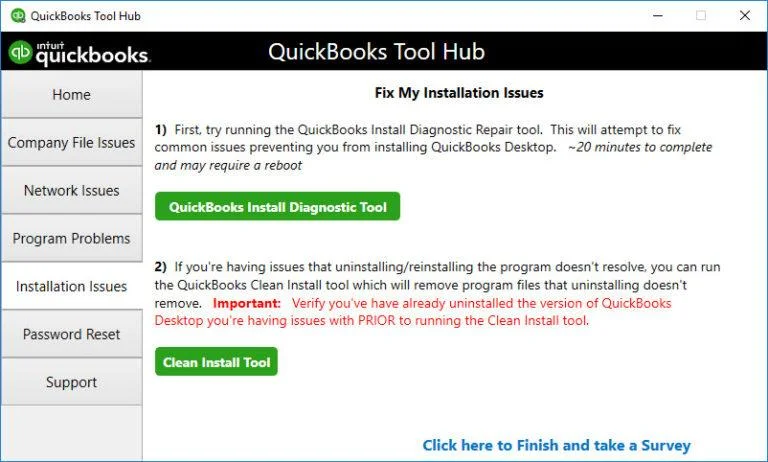
- Open QuickBooks Tools Hub and select Installation Issues.
- Then, click on Clean Install Tool followed by OK.
- Further, you have to select your QuickBooks and product version and click on Continue.
- Click on OK when the message “Please install your copy of QuickBooks to the default location” appears on your screen.
When the process completes, you can begin to reinstall QuickBooks Desktop.
Step 3: Manually Rename the QuickBooks Installation folder to Completely Remove the QB Desktop
As said, you need to rename the folders manually if you’re using QuickBooks 2020 or older versions. Follow the below-given steps to rename the installation folders:
- Firstly, you have to display the hidden files by following the below-listed steps.
- Windows 10 : Click on the folder icon to open File Explorer on your Desktop or System Tray. Go to the View tab and select Hidden Items.
- Windows 8.1/ 8: Simultaneously press Windows + E to open File Explorer. Go to the View tab and select File Extensions and Hidden items.
- Click on the Windows icon and open File Explorer.
- Search and open the folder called QuickBooks folder in which you have stored your QuickBooks company files. You can find it in any of these locations:
- C:\ProgramData\Intuit\QuickBooks (year)
- C:\Users\(current user)\AppData\Local\Intuit\QuickBooks (year)
- C:\Program Files\Intuit\QuickBooks (year)
- 64-bit version C:\Program Files (x86)\Intuit\QuickBooks (year)
- Right-click the folder and select the Rename option. Add the word old at the end of the folder name. It will restrict QB from opening itself while reinstalling it.
- Once done, reinstall the QuickBooks Desktop application.
If an Error takes place while Reaming the QB Desktop Installation folder:
- Right-click the Windows Task Bar and select Task Manager.
- Then, go to the Processes tab and select the Name column header to sort the list.
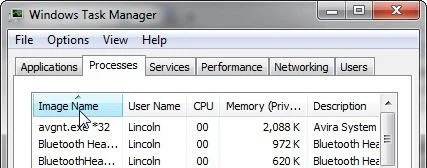
- Further, select the following processes and then End Process for each: QBDBMgrN.exe, QBDBMgr.exe, QBCFMonitorService.exe, Qbw32.exe.
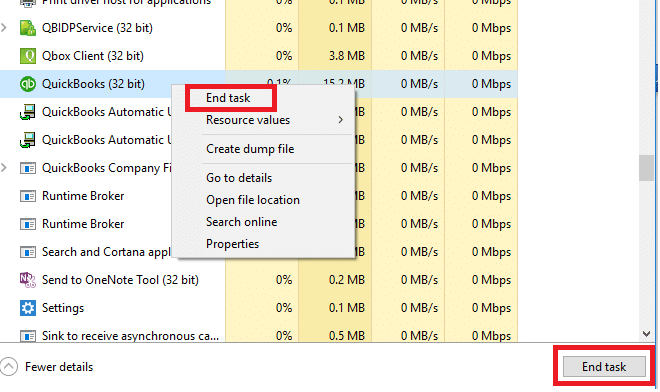
- Click on Yes when the message, “WARNING: Terminating a process can cause undesired results...” appears on the screen.
- At last, you can reinstall QuickBooks Desktop.
Step 4: Reinstall QuickBooks Desktop
If you’re renaming the QB desktop installation folders, you can go ahead and download QuickBooks Desktop and then reinstall it by following the below-given steps:
- If you have the CD, then insert it into the computer and follow the on-screen instructions to complete the installation process.
- If you have bought QuickBooks from the Intuit website, then download your version from QuickBooks Product Download Page.
- Once you have the downloaded setup, Run it. At this point in time, you will be asked to enter the license and product number that you can find on the: CD box or Online order email.
You can Complete the Remaining steps with the help of a wizard:
- Click on Next and accept the terms of the license agreements. Again, click on Next.
- Enter your License and Product Number whenever asked, and click on Next.
- Select the Installation type for your accounting process. However, try to go with the Recommended one.

- Now, click on Next followed by Install. QuickBooks will begin to install on your computer.
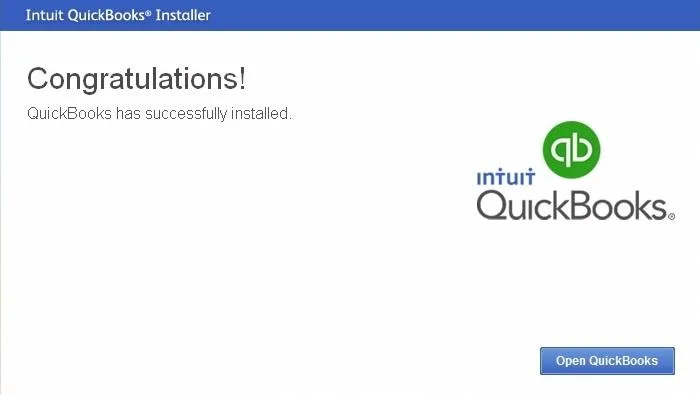
- Once installed successfully, click on open QuickBooks.
Need Assistance with Clean Installation of QB!
We have given a detailed insight on how to use the QuickBooks clean install tool to eliminate various errors that you might come across while using the QB application. If you are stuck with any query and need expert assistance, we would suggest you give us a call on QuickBooks Data Services Toll-Free Number +1(855)-955-1942.
Frequently Asked Questions
A. The QuickBooks Clean Install Tool is a utility developed by Intuit to help users fix persistent issues by uninstalling and reinstalling QuickBooks completely. It’s used when normal reinstall doesn’t resolve errors like missing features, freezing, or repeated crashes. This tool removes installation files and registry entries tied to QuickBooks, ensuring no old data interferes with a fresh installation. Use it if:
a. QuickBooks won’t open after updates
b. Errors like 6000 series or 1603 appear
c. Files are corrupted during startup
A. Yes, using the Clean Install Tool is completely safe if you back up your company files beforehand. The tool only removes program files, folders, and registry components — not your actual financial data or QuickBooks company files (.QBW). However, if files are stored in default folders that get renamed or deleted during cleanup, you might lose access unless backed up.
Steps to ensure safety:
a. Save a copy of your company file to desktop
b. Note down license/product key
c. Write down your version/year before reinstalling
This process can fix corrupted installations without risking your business data.
A. Running the Clean Install Tool correctly involves a few important steps:
a. Uninstall QuickBooks: Use the control panel to remove the software.
b. Download the Clean Install Tool: Get it from Intuit’s official website.
c. Run the tool: It automatically renames installation folders.
d. Reinstall QuickBooks: Use your original installation file or disk.
e. Activate with your license key.
After the reinstall, your software should run smoother. It’s best used when standard troubleshooting methods fail. This process helps eliminate corrupted files or registry issues that cause recurring errors.
A. Yes. Modern versions of the QuickBooks Tool Hub include the clean install feature under the Installation Issues tab. You no longer need to download it separately unless using an older tool version.
Related Posts-
Ways to Fix QBDBMgrN Not Running Error
