Like any other Windows and Mac software, QuickBooks is also vulnerable to errors. However, implementing the correct solutions can quickly eliminate many of these errors in no time. One such error we will discuss in this how-to guide is QuickBooks installation error 1334. You can face error 1334 while installing, updating, or repairing the QuickBooks Desktop program. If you are also someone encountering QuickBooks error code 1334, go through this troubleshooting guide until the end. This comprehensive troubleshooting guide is specifically developed to elaborate on the reasons for error 1334 in QuickBooks and solutions to tackle it as quickly as possible.
Wait!! Are your financial tasks in QuickBooks getting delayed due to QuickBooks Desktop error 1334? If yes, then to cut short the time of manually troubleshooting the issue, dial +1-(855)-955-1942 and get in touch with qualified professionals for quick fixes
What are the Signs to Identify QuickBooks Error 1334?
One of the major identifiers for the error 1334 is its warning message appearing on the screen. The other few signs that can help you identify the error code 1334 when launching the QuickBooks Desktop application are as follows:
- Your system freezes frequently.
- The Windows operating system runs very slowly.
- An error message saying “Error 1334: The File Can not be installed” appears on the screen.
- Your Windows operating system responds slowly to the inputs of the keyboard and mouse.
- Your QuickBooks application crashes when opening, or QB has stopped working at all.
You would like to learn about QuickBooks error 1328, an error similar to 1334 that restricts the QuickBooks Desktop update.
What are the Methods to Eliminate QuickBooks Installation Error 1334?
As discussed before, error 1334 can occur when you install, update, or repair QuickBooks, so the solutions given in this section are presented according to the situation when QuickBooks error 1334 was triggered.
1st Method: Use the Clean Install Procedure to Re-install QuickBooks
If you get QuickBooks Pro error 1334 while repairing or updating the QuickBooks application, try to re-install it on the system using the 4-step procedure given below:
Step 1: Download a New Version of QuickBooks Desktop
You can download the installer for your QuickBooks version by visiting the QuickBooks Downloads & Updates page and following the instructions mentioned below:
Note: It is suggested that you keep your QB license number handy, which can be found on the original package. If you bought it online, you can look for it in the purchase confirmation email.
- On the Downloads and Updates page, select the Yes or Not Sure option if you run QB in multi-user mode and choose Next.
- Select your Product, Country, and Version on the Standard Setup page and click Search.
- Click the Download option.
- If you do not use QB in multi-user mode, choose No.
- On the Express Setup page, click the Download option.
Step 2: Uninstall the Previous Version of QuickBooks Desktop
In this step, we will remove the previous version of QuickBooks in the procedure to eliminate QuickBooks installation error 1334.
- Click the Start button, type Control Panel in the search bar, and hit Enter key.
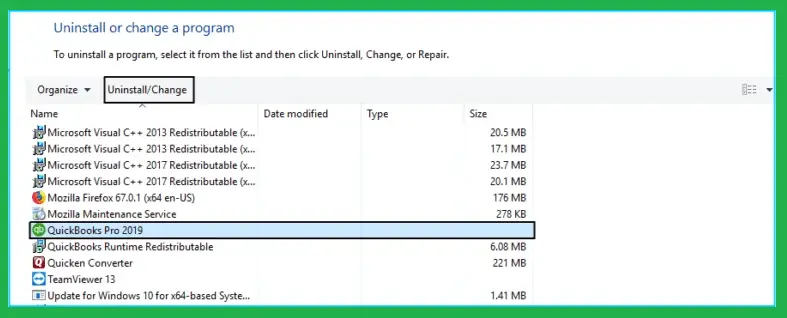
- Choose the Uninstall a Program or Programs and Features option in the Control Panel.
- In the list of installed applications on Windows, select QuickBooks Desktop.
- Click the option that says Uninstall/Change or Remove, and choose Next.
- Log out of Windows if you do not see the Uninstall/Change or Remove option and log in again as an admin or a user with admin privileges.
Step 3: Rename QuickBooks Desktop Installation Folders
Before you install a new version, you must manually rename the old QuickBooks Desktop installation folders. For this, you must first set Windows to display hidden files and folders; this is how it is done.
- On the desktop, click the folder icon to open File Explorer.
- Choose the View tab and click the Hidden Items option to display the hidden installation folders.
- Find and open the QuickBooks company file folder in the File Explorer.
- You can find the company file folder in one of the following locations:
- C:\ProgramData\Intuit\QuickBooks (year)
- C:\Users\(current user)\AppData\Local\Intuit\QuickBooks (year)
- C:\Program Files\Intuit\QuickBooks (year)
- 64-bit version C:\Program Files (x86)\Intuit\QuickBooks (year)
- As you find the folder, right-click on it.
- Under the drop-down list, select the option to Rename and type the word OLD at the end of the folder name while renaming. It will stop QuickBooks from using this folder while re-installing.
Step 4: Re-install the QB Software
Once you are done performing all the steps above, follow the final procedure to install QB desktop on the system.
Note: Ensure that QuickBooks Desktop meets all the system requirements before re-installing it.
- Search and double-click the QuickBooks setup file (QuickBooks.exe) to initiate the installation.
- Click the Next option.
- Read the license agreement carefully, and when you are done, choose Accept & Continue.
- Enter the license and product numbers in the next window and select Next.
- Choose the Express Installation type if you wish to re-install QuickBooks on a single system.
- However, if you wish to run QuickBooks over a network, click the Custom & Network option.
- Select Next, and when you are ready, choose the Install option.
- You will be prompted to reboot the system after installing QuickBooks; proceed with the same action.
- Launch and activate QuickBooks Desktop to see if QuickBooks error message 1334 is eliminated.
Implement the next troubleshooting method if the clean install procedure does not help rectify the issue.
2nd Method: Repair the Microsoft .NET Framework
QuickBooks Desktop utilizes several Microsoft components like Microsoft .NET Framework for different operations, including installation and update. If you encounter QuickBooks installation error 1334 when installing the QuickBooks software, you must repair or re-install Microsoft .NET Framework. Follow the steps below to fix the .NET Framework and resolve error code 1334 in QB.
Step 1: Locate .NET Framework
- Close all open programs and move to the Start menu.
- Enter Control Panel in the search panel.
- Hit the Enter key.
- Under the Control Panel window, click Programs and Features and select the Uninstall a Program option. Do not worry you are not uninstalling anything.
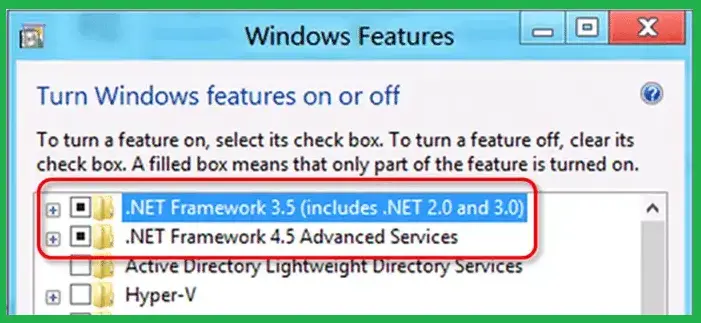
- Choose Turn Windows features on or off and look for .NET Framework in the list.
Now, follow the steps below to verify the settings for .NET Framework 4.5 (or later) and .NET Framework 3.5 SP1.
Note: The process to repair .NET Frameworks 4.5, 4.6, 4.7, and 4.8 is the same.
Step 2: Check NET Framework 4.5 (or later) Settings
If the checkbox for .NET Framework 4.5 (or later) is not marked
- Click the checkbox next to .NET Framework 4.5 (or later) to turn the setting on and choose OK to save the changes.
- Restart the system.
If the checkbox for .NET Framework 4.5 (or later) is already marked
- Click the checkbox next to it to turn off .NET Framework 4.5 (or later), and do not turn it back on.
- Click the OK option to save the changes and reboot the system.
As you log back into the Windows OS, follow the procedure to turn on .NET Framework 4.5 again.
Step 2: Check the .NET Framework 3.5 SP1 Settings
If the checkbox for .NET Framework 3.5 SP1 isn’t marked
- Choose the checkbox beside .NET Framework 3.5 SP1 to turn it on.
- Click the OK option to save the changes and restart the system.
If the checkbox for .NET Framework 3.5 SP1 is already marked
- To turn off .NET Framework 3.5 SP1, click the checkbox next to it and do not turn it back on.
- To save all the changes, click OK and restart the system.
As you log back into the Windows OS, repeat the procedure to turn on .NET Framework 3.5 SP1.
Important Note: If you come across an error message when turning the .NET Framework on or off, dial +1-(855)-955-1942 and chat with an expert or reach out to Microsoft support.
After following all the steps above, try to install QB Desktop to check if QuickBooks installation error 1334 is rectified. However, if not, move to the next troubleshooting method.
3rd Method: Check the QuickBooks Company File Extension
If QuickBooks Desktop error 1334 arises due to an incorrect file extension, you must rename it. Follow the steps below to verify and fix the company file extension.
- Click the Windows Start button.
- In the Windows search bar, type File Explorer and press Enter.
- Follow this path in the File Explorer: ‘\Users \Public \Documents \Intuit\ QuickBooks.’
- Check if the QB company file has .QBW extension.
- If the extension is something else, right-click on the company file and click Rename in the drop-down list.
- Edit the file extension, make it .QBW, and save the changes.
After renaming the company file extension, check if the issue is rectified. If error 1334 is still there, move to the next solution.
4th Method: Run QuickBooks Desktop in Safe Mode
If QuickBooks error 1344 appears when you try to update QuickBooks, run the system in safe mode by following the steps below.
- Click the Start button, and type Run in the Windows search panel.
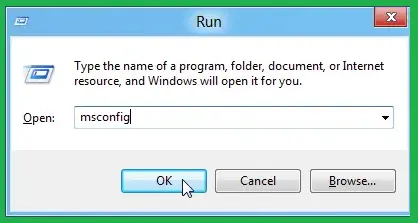
- Hit Enter, type ‘MSConfig‘ in the Run window, and choose OK.
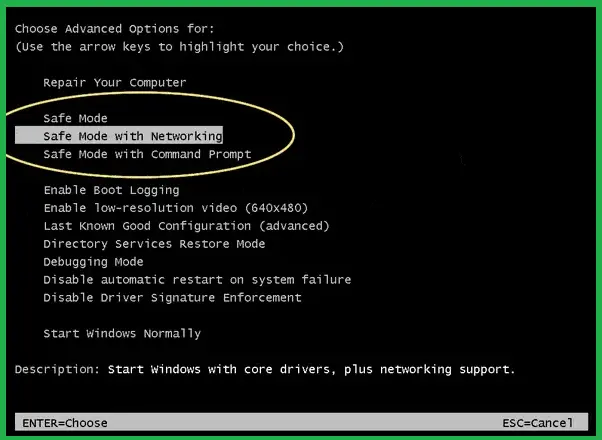
- Go to the Boot tab, choose Safe Boot, and select the Network option.
- Choose OK and then click Reboot, allowing the system to restart in ‘Safe Mode‘.
- Safe mode will let you launch and run the QuickBooks application without interruptions.
- Open the QB program and move to the Help tab to download QuickBooks Desktop updates.
- After downloading the updates, move to the desktop and press Windows + R.
- In the Run window, type MSConfig, move to the Boot tab, and deselect Safe Mode.
- Reboot the system normally and launch QuickBooks Desktop to install the updates.
If you can install the latest updates, QuickBooks installation error 1334 is resolved; however, if you still can’t, follow the next solution.
5th Method: Restore the System at an Earlier Date
Use System Restore to help fix the Windows registry and other internal issues in Windows. The following steps will help you restore Windows to an earlier state, which can ultimately help resolve QuickBooks Desktop error 1334.
- Log in as the Windows Administrator.
- Choose the Accessories and Programs option.
- Click System Tools and choose Restore.
- Click Restore My PC to an earlier date.
- Select the Next option and choose a restore point from the list you wish to use.
- Select Next, and under the verification screen, select the most recent system restore date.
- Once you finish the above steps, reboot the system and check if error code 1334 is eliminated.
Conclusion
Hopefully, the methods mentioned above helped resolve QuickBooks installation error 1334. However, manual troubleshooting might be challenging if you have no prior experience troubleshooting issues in QuickBooks. If you don’t want to make this task more time-consuming or complex for yourself, we advise you to let an expert handle it. Dial +1-(855)-955-1942 and get in touch with the ProAdvisor team for instant troubleshooting assistance.
Frequently Asked Questions
Ans: Yes, you can use the QB Install Diagnostic Tool to fix the QuickBooks Install Error 1334. But make sure to back up your company files first and keep your license and product information handy, as you will need them later.
Ans: If you have got the error code 1334 just while installing the QuickBooks application, then repair your Microsoft .Net framework. You can connect with our experts by placing a call at our Toll-free number for further assistance.
Ans: You can immediately uninstall and reinstall your QuickBooks software again as soon as you get the error message 1334. But make sure to create a backup file before doing this, as you will be required to utilize it after installing the latest version of QuickBooks.
Ans: As the installation process ends, QuickBooks Desktop will prompt you to activate it. But you also have an option to activate it manually. Launch QuickBooks Desktop and move to the Help tab to activate it manually. Click the option to Activate QuickBooks Desktop and follow the instructions on the screen for instant activation.
